
CUT
AGES
3–6
Activities for Building Fine-Motor Skills
with
Cut With Clifford
The Big Red Dog © Scholastic Inc.

Cut With Clifford
The Big Red Dog © Scholastic Inc.
CUT
Activities for Building Fine-Motor Skills
with

No part of this publication may be reproduced in whole or in part, or stored in a retrieval system, or transmitted in
any form or by any means, electronic, photocopying, recording, or otherwise, without written permission of the publisher.
For information regarding permission, write to Scholastic Inc., 557 Broadway, New York, NY 10012-3999.
™ & © Scholastic Inc. SCHOLASTIC and associated logo is a trademark of Scholastic Inc.
CLIFFORD THE BIG RED DOG and associated logo is a trademark of Norman Bridwell. All rights reserved.
Originally published as
Little Kids . . . Cut!
Cover design by Michelle Kim
Written and illustrated by Karen Sevaly
ISBN: 978-0-545-84930-2
Copyright © 2015 by Scholastic Inc.
All rights reserved. Published by Scholastic Inc.
Cut With Clifford
The Big Red Dog © Scholastic Inc.

Cut With Clifford
The Big Red Dog
®
© Scholastic Inc.
Contents
Introduction .................... 4
All About Scissors ...............5
A Look at the Activities ............6
Extra!
Achievement Certificates .........58
Beginning Cutting Practice
One-Snip Strips .................9
Two-Snip Strips .................10
Three-Snip Strips ................11
Straight Lines ...................12
Zigzags .......................13
Fringe Strips ...................14
Squares, Triangles, and Rectangles ..15
Curved Lines ...................16
Scallops and Waves ..............17
Circles ........................18
Spirals ........................19
Tangram .....................20
Start, Stop, and Fold ............ 21
Fun With Clifford
Lunchtime for Clifford ........... 55
Party Time With Clifford . . . . . . . . . . 56
Clifford and Pals Puppets ......... 57
Picture Patterns
School Bus ................... 22
Apple .......................23
Spider .......................24
Pumpkin ..................... 25
Turkey ....................... 26
Gingerbread Man .............. 28
Candy Cane ..................29
Holiday Stocking ...............30
Christmas Tree ................32
Snowman ....................33
Valentine ..................... 34
Shamrock .................... 35
Bunny Ears ................... 37
Easter Egg ....................39
Spring Flower ................. 40
Cloud and Raindrops ............ 41
Butterfly ......................42
Tree ........................43
Star ......................... 44
Sun .........................45
Sailboat ......................46
Fish ......................... 47
Mouse .......................48
Snake .......................49
Cat .........................50
House ...................... 51
Lion .........................52
Barn ........................53
Farm Animals ................. 54

4
Cut With Clifford
The Big Red Dog
®
© Scholastic Inc.
W
elcome to the wonderful world of young learners, where learning is like play
with everyone’s much-loved canine—Clifford The Big Red Dog
®
! This book
offers easy activities that will help your child develop the skills needed to
meet key early curriculum standards and succeed in school. The activities provide practice
in basic scissors skills that your child will then apply to make easy arts-and-crafts projects.
Before young children can learn to write, they need to develop eye-hand coordination and
fine-motor skills. The process of using scissors to cut lines, shapes, and pictures helps
them develop these essential skills. The activities in this book have been designed for the
developmental abilities of your young child. The large patterns and pictures with thick,
bold lines offer support as your child practices and develops cutting skills. These features
let your child experience success, helping build self-esteem and confidence. Each activity
page targets specific skills for your child to practice. The consistent format will help your
child work independently and with confidence. Other important features include:
Ø
easy-to-follow directions to help build vocabulary and early reading
comprehension skills
Ø
cutting and gluing exercises to develop and strengthen your child’s visual
discrimination, eye-hand coordination, and fine-motor skills
Ø
appealing ready-to-color artwork that engages and motivates your
child to learn
On the following pages, you’ll find suggestions for introducing the activities to your child,
plus tips for getting started and making the experience go smoothly.
We hope you and your child enjoy doing the activities in this book. Your involvement will
help make this a valuable educational experience and will support and enhance your
child’s learning. And with Clifford The Big Red Dog
®
along for company, it’s sure to be
filled with fun!

5
Trace With Clifford! © Scholastic Inc.
All About Scissors
Choosing Scissors
“Child-safe” blunt tip scissors about five inches long are best
for beginners. Test the blades for tightness and ease of use. If
your child has not yet demonstrated hand dominance, you
might look for a pair that is suitable for either right- or left-
handed children, or even better, get one for “lefties” (the upper
blade is on the left) and one for “righties” (the upper blade is
on the right), and let your child experiment to see which is
more comfortable to use.
Scissors Safety Tips
Teach your child how to walk safely with a pair of scissors
(though walking with scissors should be discouraged) and how
to hand them to someone else. The hand should make a fist
around the closed blades of the scissors with the handles
pointing up. Tell your child to never point or wave a pair of
scissors—they are a tool, not a toy.
Introducing Scissors
Ø
Demonstrate correct finger placement.
•
The thumb goes in the upper loop of the handle.
•
The middle finger goes in the lower loop (though some
types of scissors have enough space for both the middle
and ring fingers).
•
The index finger rests outside the lower
loop, in front of the middle finger, to
provide balance and strength.
•
The ring finger (if not inside the lower
loop) and pinkie curl into the palm.
Ø
One hand (the dominant one, if already established)
provides the open and close movement of the scissors
while the other hand holds the paper. At first, your child
may turn his or her hand awkwardly, making it difficult to
cut. Tell your child to think “Thumbs up!” when using
scissors as a reminder that the thumb should be in the
upper loop of the handle.
Ø
First Time Cutting: Cut several 1- by 6-inch paper strips and
encourage your child to make several cuts any way he or
she chooses. Gently correct your child’s finger placement
and motion, as needed.
Developmental Tip
Before using scissors to cut, have your
child practice tearing and gluing paper.
You might demonstrate some of the
techniques that follow:
• Tear a sheet of paper down the middle
by pulling it away from the body.
• Use one hand to pull the paper away
from the body while the other hand pulls
it toward the body.
• Tear paper into small pieces
• Use a glue stick or craft glue to affix
small, torn pieces of paper onto a large
sheet of construction paper to make a
design or collage.
Cut With Clifford
The Big Red Dog © Scholastic Inc.

6
Cut With Clifford
The Big Red Dog
®
© Scholastic Inc.
Helpful Tips
• For ease of use, simply choose the skills
you would like your child to work on
(you’ll find detailed information on the
Contents page), locate the corresponding
activity page, then print out the page(s).
• Help your child read the directions on
the activity pages.
• Invite your child to color the patterns
on the activity pages before cutting
them out.
• Let your child complete each activity or
project at his or her own pace.
• Review the completed activities and
projects together and encourage your
child to share comments about them.
• Support your child’s efforts and offer help
when needed.
• Display your child’s work and share his
or her progress with family and friends!
A Look at the Activities
Have your child practice cutting using the snip strips first, then
continue with the other basic cutting exercises before moving
on to the picture patterns, which your child can color, cut out,
and use to create fun art projects.
Beginning Cutting Practice
One-Snip Strips
(page 9)
Cut out the strips for your child along the outer thick, bold
lines. Then give your child one of the strips labeled “A.” Show
your child how to hold the scissors in one hand and the strip in
the other. Point out the
and explain that this is where to
begin cutting. Tell your child to cut across the strip in one
motion following each of the solid black lines. Let your child
practice this a few times using the other “A” strips. Then have
your child practice cutting the “B” strips.
Two-Snip Strips (page 10)
As your child masters cutting the one-snip strips, have him or
her proceed to cut the two-snip strips. Cut out the strips for
your child along the outer thick, bold lines. These strips are
wide enough to require your child to make two motions when
cutting across them. Have your child first practice cutting the
“A” strips, then proceed to the “B” strips.
Three-Snip Strips (page 11)
Cut out the strips for your child along the outer thick, bold
lines. Let your child master the straight-line cutting strip before
introducing the curved- and angled-snip strips. Cutting along
curves requires your child to use his or her other hand to move
the paper in relationship to the cutting movement. Cutting
angles requires stopping and changing direction. These
movements are more advanced and require patience and
persistence. Tell your child to turn the paper, not the scissors,
when cutting anything other than a straight line.
Straight Lines (page 12)
This activity requires multiple motions to cut all the way across
the page. Have your child practice cutting along both the solid
and dashed lines.

7
Zigzags (page 13)
Show your child how to cut along these angled lines by stopping and changing direction.
Remind him or her to turn the paper, not the scissors, when cutting.
Fringe Strips (page 14)
Cut out the fringe strips for your child along the outer thick, bold lines and instruct him or
her to cut along the black lines up to the dots. Then demonstrate how to fold, bend, or
curl the fringe. Encourage your child to use the fringe in art projects.
Squares, Triangles, and Rectangles (page 15)
Using the same start-and-change-direction method as for zigzags, remind your child to
start cutting at the
and follow the lines to cut out each shape. Help your child name
and describe the shapes, for example,
large square
,
medium square
,
small square
, and
so on.
Curved Lines (page 16)
Have your child practice turning the paper with one hand while he or she cuts with the
other hand using multiple cutting motions.
Scallops and Waves (page 17)
Cutting scallops or waves requires your child to turn the paper while cutting, stop at a
given point, and change direction.
Circles (page 18)
Show your child how to cut out a circle by simply rotating the paper while cutting. Help
your child name the different size circles:
small
,
medium
, and
large
.
Spirals (page 19)
Cut apart the four boxes for your child along the
outer thick, bold lines. Then show your child how
to cut out a spiral by rotating the paper while cutting.
Invite your child to stretch out the spirals to make
them bounce!
Tangram (page 20)
A tangram is an ancient Chinese puzzle cut from one
square sheet of paper. It consists of five triangles, a
parallelogram, and a square. Your child can use the
cutout shapes to make many different designs or
pictures, then glue them onto a contrasting sheet of
construction paper. Review the names of the different
shapes with your child.
After cutting apart the various strips
and shapes, your child might enjoy
using them to create a design or
collage by gluing them onto a large
sheet of construction paper.
Cut With Clifford
The Big Red Dog © Scholastic Inc.

8
Cut With Clifford
The Big Red Dog
®
© Scholastic Inc.
Start, Stop, and Fold (page 21)
Print out two copies of this page. Cut apart the four boxes along the outer thick, bold
lines. For each box, demonstrate how to start cutting on the solid black line, stop and
change direction, then continue cutting up to the black dot(s). Next, show your child how
to fold back the cut patterns along the dashed lines to create a flap. This method can be
used to create doors and windows in craft projects. Have your child practice with the
second sheet.
Picture Patterns (pages 22–57)
These simple patterns let your child practice using his
or her newly acquired cutting techniques. They also
give your child the opportunity to create fun and easy
craft projects. Some of the patterns have seasonal or
holiday themes, however you can use many of them
at any time of the year. The simple directions
accompanying each project describe other common
art materials that might be needed to complete it,
such as construction paper, crayons, paint, glue
sticks or craft glue, string, yarn, and so on.
Achievement Certificates (page 58)
After your child has completed the activity pages,
acknowledge his or her efforts by completing the “I
Can Cut!” and “I Know Scissors Safety!” certificates.
Post them on the refrigerator or on a bulletin board
to honor your child’s achievements.
I Can Count and Match to !
Name
Parent
Date
I
C
a
n
C
u
t
!
I
K
n
o
w
S
c
i
s
s
o
r
s
S
a
f
e
t
y
!
© Scholastic Inc.
© Scholastic Inc.
Name
Parent
Date
Great
Job
!
Awesome
!
Way to Go
!
Excellent
!
I Can Count and Match to
!
Name
Parent
Date
I
C
a
n
C
u
t
!
I
K
n
o
w
S
c
i
s
s
o
r
s
S
a
f
e
t
y
!
© Scholastic Inc.
© Scholastic Inc.
Name
Parent
Date
Great
Job
!
Awesome
!
Way to Go
!
Excellent
!


22
Cut With Clifford
The Big Red Dog
®
© Scholastic Inc.
SKILLS: Circles, Curves, and Straight Lines
School Bus
1. Cut out the bus and the wheels.
2. Attach the wheels to the bus using brass fasteners
or glue all of the pieces onto a sheet of construction paper.
3. Write your name on the bus along with your bus number (if applicable).

23
Cut With Clifford
The Big Red Dog
®
© Scholastic Inc.
Apple
1. Cut out the apple and the stem.
2. Glue the apple and the stem onto a sheet of construction paper.
3. If you like, collect the seeds from an apple and glue them onto
the paper apple.
SKILLS: Curves and Zigzags

24
Cut With Clifford
The Big Red Dog
®
© Scholastic Inc.
SKILLS: Curves and Straight Lines
Spider
1. Cut out the spider and its eight legs.
2. Glue the legs onto each side of the spider’s body.
3. Fold the spider’s legs as shown so it can stand.
4. If you like, tape a length of string to the
spider’s body and hang it from the ceiling.

25
Cut With Clifford
The Big Red Dog
®
© Scholastic Inc.
SKILL: Curves
Pumpkin
1. Cut out the pumpkin and the stem.
2. Glue the pumpkin and its stem to a sheet of black
construction paper.
3. To turn the pumpkin into a jack o’ lantern, cut out
geometric shapes, such as triangles and zigzags,
from black paper scraps and glue them to
the pumpkin to make a face.


27
Cut With Clifford
The Big Red Dog
®
© Scholastic Inc.
Turkey (continued)

28
Cut With Clifford
The Big Red Dog
®
© Scholastic Inc.
SKILL: Curves
Gingerbread Man
1. Cut out the gingerbread man.
2. If you like, rub a cinnamon stick over the gingerbread man
or rub in a little powdered cinnamon for a spicy effect.
3. Add decorations by gluing on pieces of yarn, rickrack, small buttons,
pom-poms, and other craft materials.

30
Cut With Clifford
The Big Red Dog
®
© Scholastic Inc.
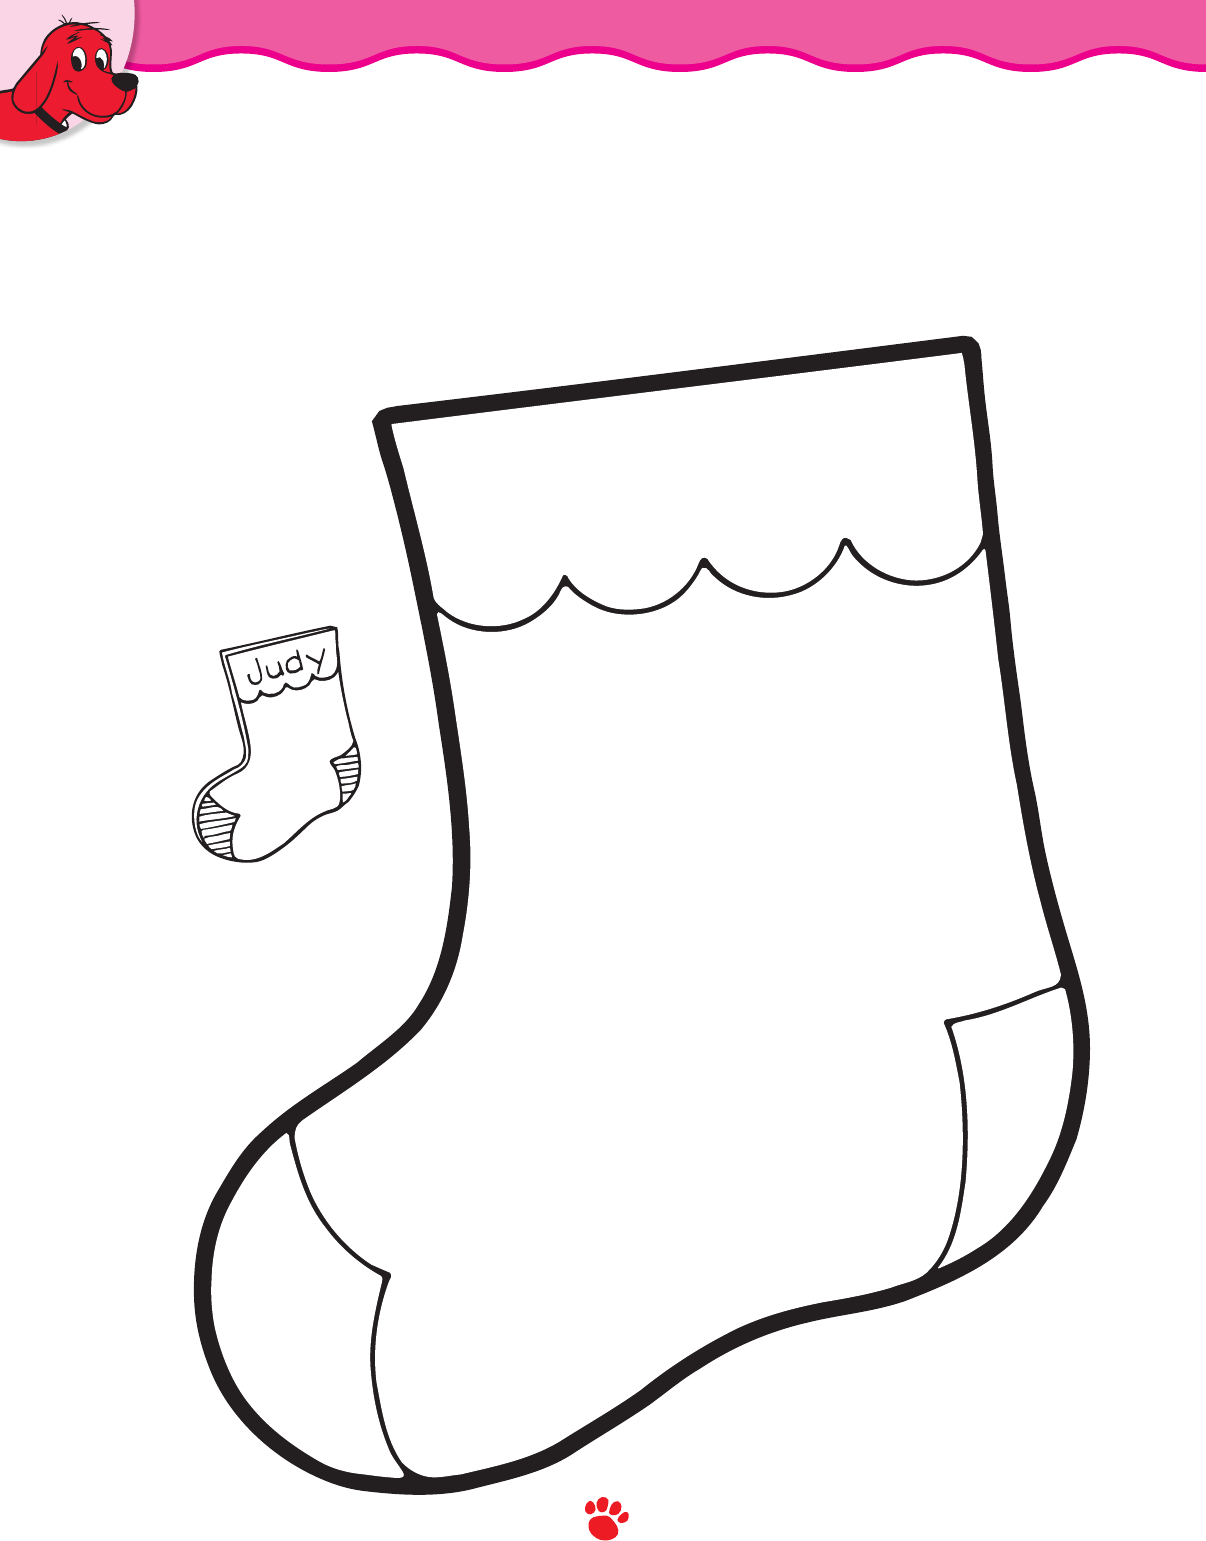
SKILLS: Curves and Straight Lines
Holiday Stocking
1. Cut out the stocking on this page and on page 31.
2. Glue the stockings together by carefully applying glue to the edges
of one of the stockings. Do not apply glue to the opening at the top.
3. When the glue is dry, write your name on the stocking.
4. Decorate the stocking using glitter glue, yarn, rickrack,
pom-poms, cotton balls, and other craft materials.
5. If you like, place a candy cane (see page 29)
inside the stocking and hang it up at holiday time.

31
Cut With Clifford
The Big Red Dog
®
© Scholastic Inc.
Holiday Stocking (continued)

32
Cut With Clifford
The Big Red Dog
®
© Scholastic Inc.
SKILL: Zigzags
Christmas Tree
1. Cut out the tree.
2. Decorate the tree using colored
self-adhesive dots or by
drawing designs on the tree
using glitter glue or crayons.

33
Cut With Clifford
The Big Red Dog
®
© Scholastic Inc.
SKILLS: Circles and Curves
Snowman
1. Cut out the snowman’s head, body parts, and hat.
2. “Build” the snowman on a large sheet of construction paper, then glue it in place.
3. Draw stick arms using a crayon. If you like, cut a small strip from a fabric scrap
to glue onto the snowman’s neck as a scarf.

34
Cut With Clifford
The Big Red Dog
®
© Scholastic Inc.
SKILL: Scallops
Valentine
1. Cut out the heart.
2. Decorate the border of the heart by gluing on pieces cut from a paper doily or bits of ribbon.
3. Write a valentine message on the heart, then give it to a friend or family member!

35
Cut With Clifford
The Big Red Dog
®
© Scholastic Inc.
SKILLS: Curves and Straight Lines
Shamrock
1. Cut out the shamrock on this page and the 12 strips on page 36.
2. Staple, tape, or glue together the ends of one of the strips to form a loop.
3. Slip another strip inside the first loop and join the ends together.
4. Continue forming interlocking loops with the remaining strips to create a chain.
5. Staple the shamrock to the end of the chain and hang it from the ceiling on St. Patrick’s Day!

36
Cut With Clifford
The Big Red Dog
®
© Scholastic Inc.
Shamrock (continued)

37
Cut With Clifford
The Big Red Dog
®
© Scholastic Inc.
SKILL: Curves and Straight Lines
Bunny Ears
1. Glue this page and page 38 to a piece of
lightweight cardboard, then cut out the ears.
2. To make a headband, have a grown-up help
you cut two 2- by 12-inch strips from a sheet
of heavy construction paper or lightweight
cardboard.
3. Overlap the ends of the strips, tape or
glue together, then decorate.
4. Ask a grown-up to circle the headband
around your head and tape together to
make a snug fit. Trim off any excess.
5. Tape a bunny ear to each side of the
headband. Hop along, Bunny!

38
Cut With Clifford
The Big Red Dog
®
© Scholastic Inc.
Bunny Ears (continued)
39
Cut With Clifford
The Big Red Dog
®
© Scholastic Inc.
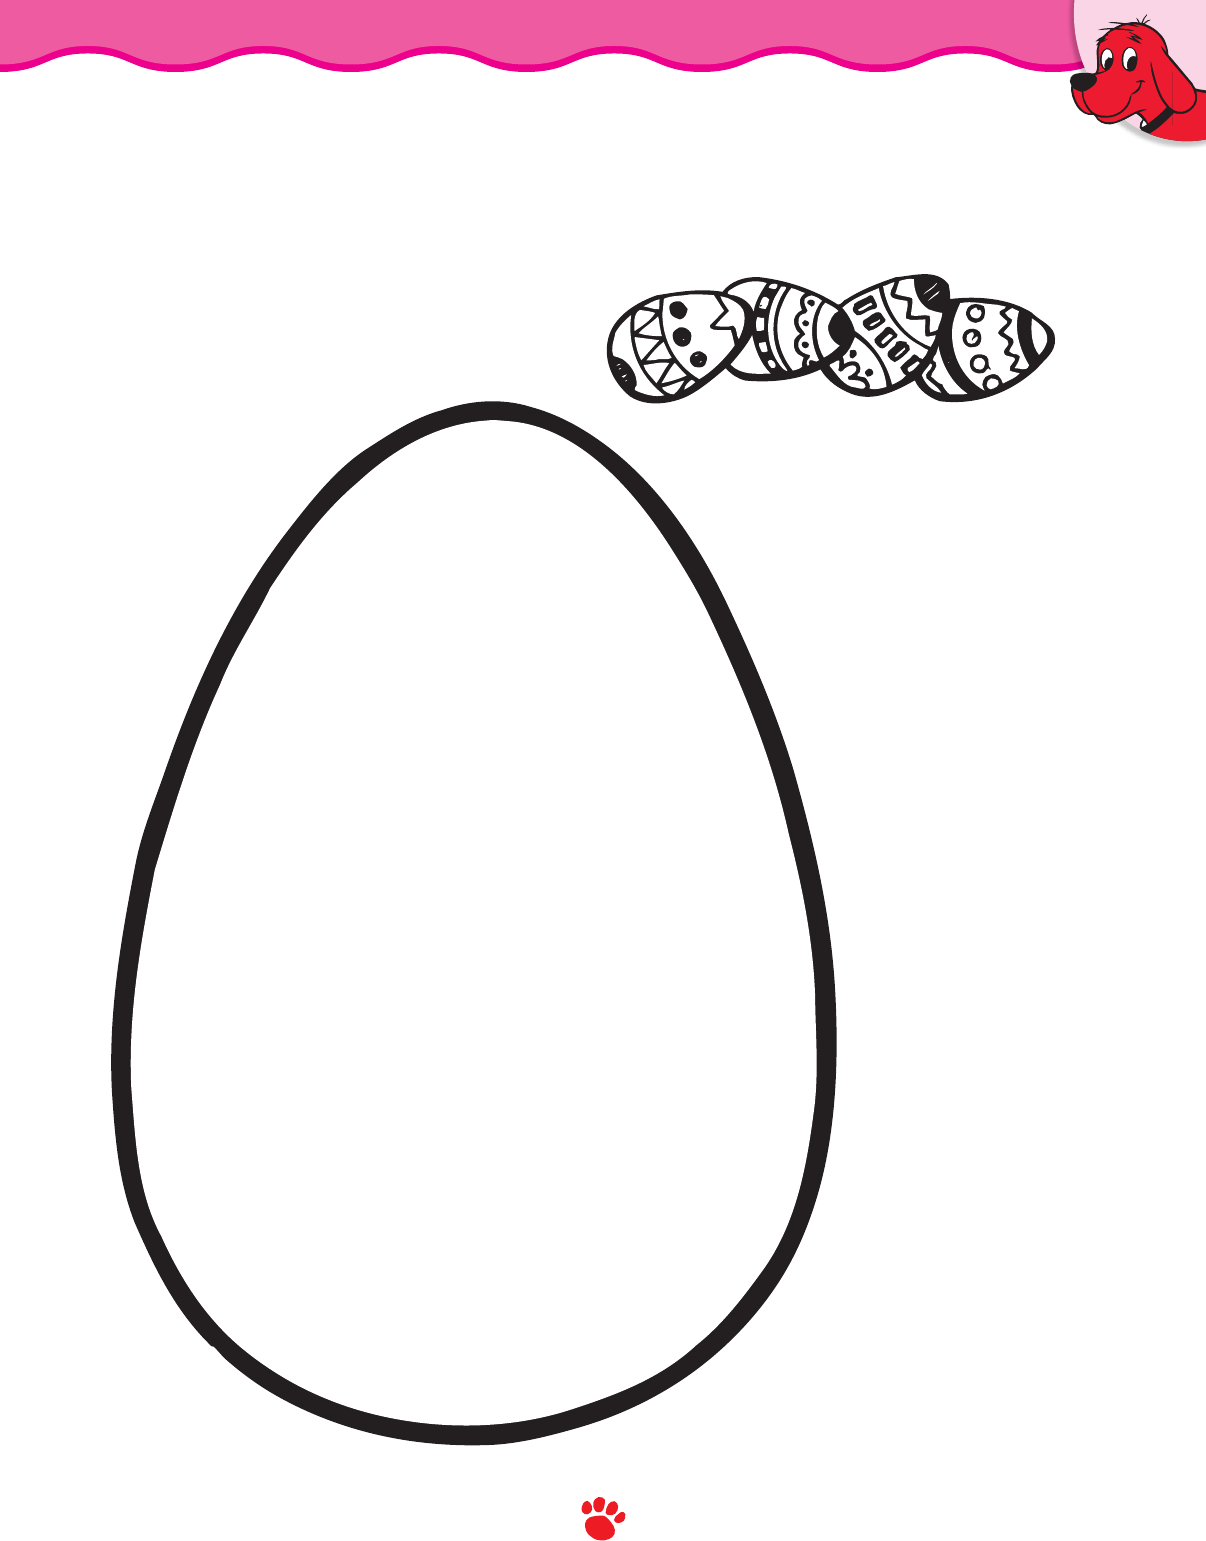
SKILL: Curves
Easter Egg
1. Cut out the egg.
2. Cut out zigzags, scallops, waves, and other shapes from colored scraps of paper.
3. Glue the shapes to the egg to make a colorful design.

40
Cut With Clifford
The Big Red Dog
®
© Scholastic Inc.
SKILLS: Scallops, Fringe, Zigzags,
Straight Lines, and Curves
Spring Flower
1. Cut out the flower, the flower’s center, stem, and leaf.
2. Cut slits in the flower along the lines to separate the petals.
Cut along each line up to the dot. Bend the petals forward.
3. Glue the center to the middle of the flower.
4. Put the flower together on a large
sheet of construction paper, then
glue it in place. Be careful not to
glue down the petals.

41
Cut With Clifford
The Big Red Dog
®
© Scholastic Inc.
SKILLS: Scallops and Curves
Cloud and Raindrops
1. Cut out the cloud pattern and the raindrops.
2. Arrange the cloud and raindrops on a large sheet
of dark-blue construction paper.
3. If you like, decorate the cloud by gluing on
cotton balls. You might also add “lightning” by
attaching pieces of holiday tinsel to the
back. Then glue the cloud to the paper.
42
Cut With Clifford
The Big Red Dog
®
© Scholastic Inc.
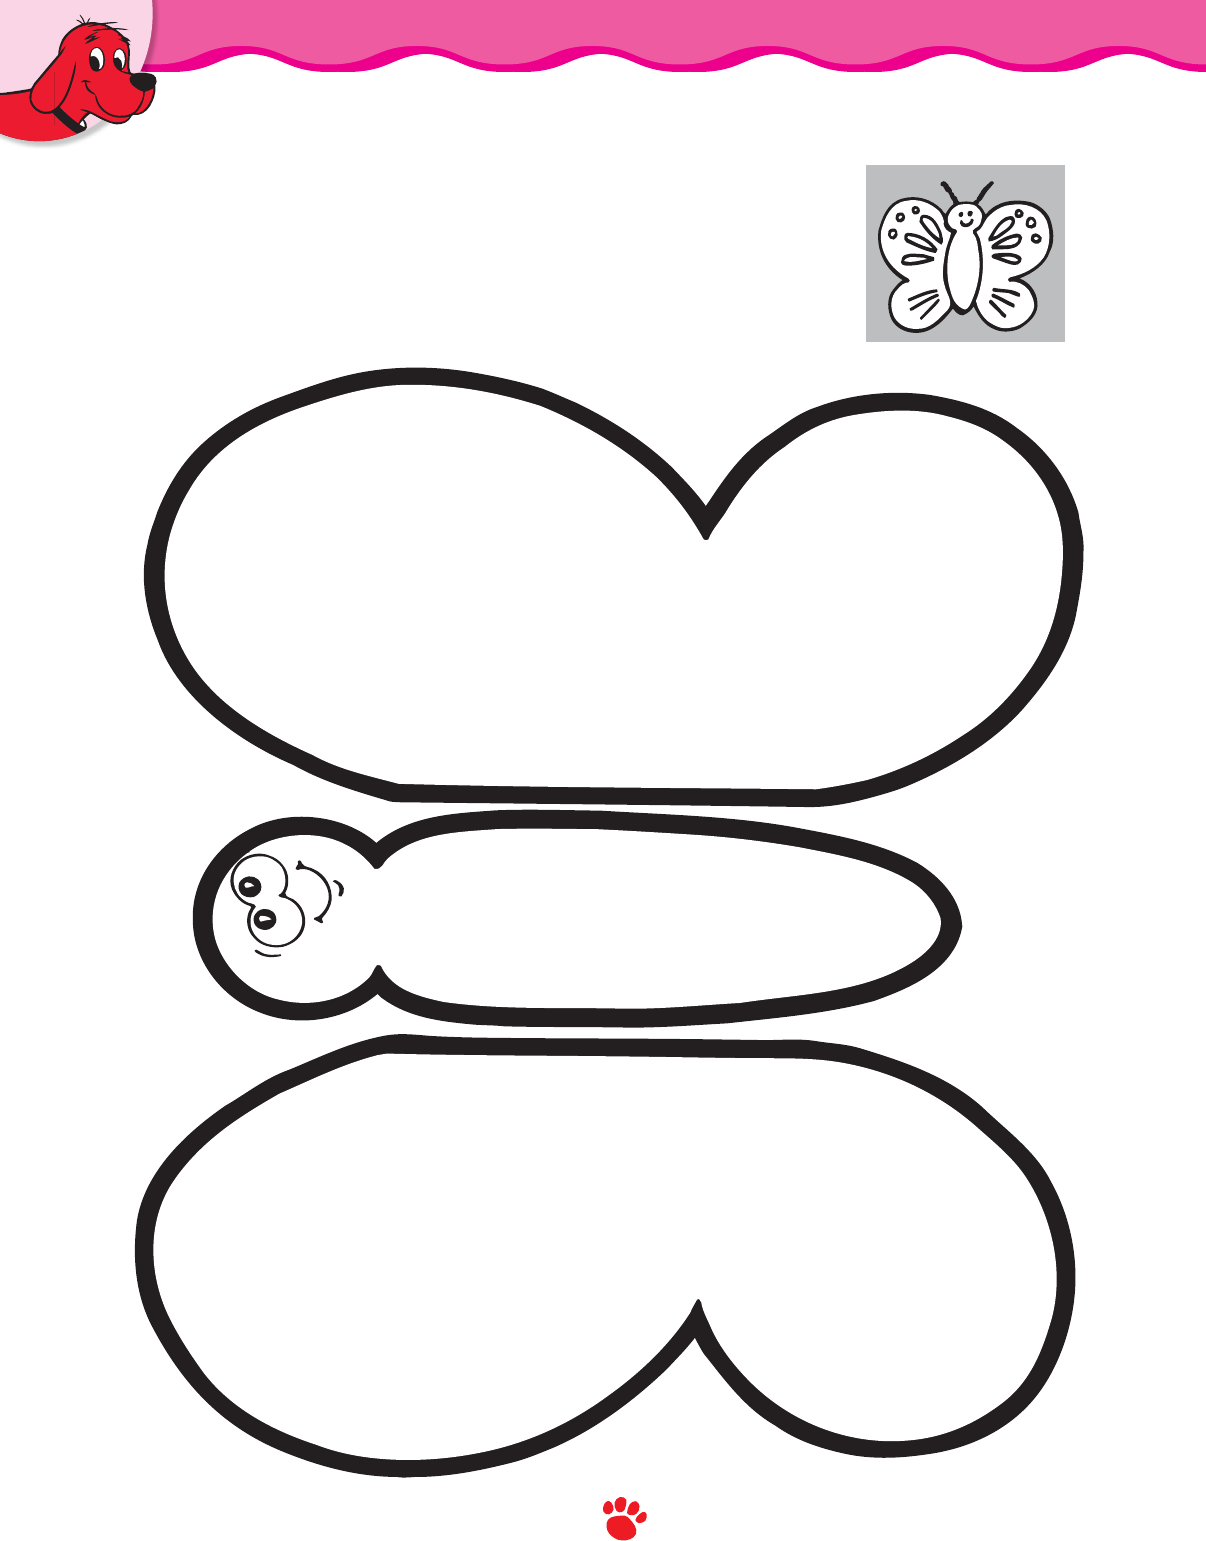
SKILL: Curves
Butterfly
1. Cut out the butterfly’s head and body and its wings.
2. Place the wing patterns side by side on a large sheet of
construction paper, then glue them in place.
3. Glue the butterfly’s body on top of the wings in the center.
4. Glue on two antennae cut from a pipe cleaner.
5. Decorate the butterfly’s wings using glitter glue, small pom-poms,
shapes cut from colored paper scraps, and other craft materials.

43
Cut With Clifford
The Big Red Dog
®
© Scholastic Inc.
Tree
1. Cut out the tree trunk.
2. Glue the tree trunk to a large sheet of light-blue construction paper.
3. Tear green construction paper (or green tissue paper) into small pieces,
then glue to the branches to create a leafy treetop.
4. Create a background scene by using crayons to draw grass, flowers,
birds, clouds, and so on.
SKILLS: Curves and Zigzags

44
Cut With Clifford
The Big Red Dog
®
© Scholastic Inc.
SKILL: Zigzags
Star
1. Cut out the star.
2. Write your name on the star.
3. Decorate the edges of the star using glitter glue.
4. Glue yellow crepe paper streamers to the back of the star, if you like.

45
Cut With Clifford
The Big Red Dog
®
© Scholastic Inc.
SKILLS: Curves and Straight Lines
Sun
1. Cut out the sun and the 12 rays.
2. Glue the sun to the center of large sheet
of construction paper.
3. Glue the sun’s rays around the sun.
4. If you like, decorate the sun
using gold glitter glue.

46
Cut With Clifford
The Big Red Dog
®
© Scholastic Inc.
SKILLS: Triangles, Straight Lines, and Waves
Sailboat
1. Cut out the boat, sail, flag, and wave.
2. Place the sailboat with the wave underneath, on a large sheet of
construction paper, as shown. Then glue the pieces in place.
3. Create an ocean scene by using crayons to draw fish, birds, clouds, and so on.

47
Cut With Clifford
The Big Red Dog
®
© Scholastic Inc.
SKILLS: Curves and Straight Lines
Fish
1. Cut out the fish.
2. Make colorful scales on the fish using crayons or glitter glue.
3. Write your name on the tail.
4. Glue the fish to a large sheet of blue construction paper.
5. To create an underwater scene, draw rocks, plants, shells, and so on.

48
Cut With Clifford
The Big Red Dog
®
© Scholastic Inc.
SKILL: Curves
Mouse
1. Cut out the mouse body and ears.
2. Glue the ears to the mouse body, as shown.
3. Glue or tape a piece of yarn or a curled pipe cleaner to the mouse for a tail.
4. Write your name on the mouse.

49
Cut With Clifford
The Big Red Dog
®
© Scholastic Inc.
SKILL: Spirals
Snake
1. Cut out the snake.
2. If you like, tape or staple a length of string to
the snake’s head and hang it from the ceiling.

50
Cut With Clifford
The Big Red Dog
®
© Scholastic Inc.
SKILLS: Straight Lines, Curves, and Spirals
Cat
1. Cut out the cat and tail.
2. Glue pieces cut from a pipe cleaner to
the cat’s face to make whiskers.
3. Glue or tape the tail to the back of
the cat, then make its tail bounce
up and down!

51
Cut With Clifford
The Big Red Dog
®
© Scholastic Inc.
SKILLS: Straight Lines and
Start, Stop, and Fold
House
1. Cut out the house.
2. Cut open the door, stopping at the dot. Fold the door open.
3. Glue the house to a large sheet of construction paper.
Be careful not to glue down the door.
4. Use crayons to draw a picture of yourself inside the door. You might
also draw bushes, flowers, a sun, clouds, and so on, to add to the scene.
5. Write your name and address on the lines.
FOLD
Keesha
14 Main St.

52
Cut With Clifford
The Big Red Dog
®
© Scholastic Inc.
SKILLS: Straight Lines, Curves, and Fringe
Lion
1. Cut out the lion’s head, body, and tail.
2. Cut slits along the lines in the lion’s mane.
Cut along each line up to the dot.
Bend the fringed mane forward.
3. Put the lion together on a large
sheet of construction paper, then
glue it in place. Be careful not
to glue down the lion’s mane.

53
Cut With Clifford
The Big Red Dog
®
© Scholastic Inc.
SKILLS: Straight Lines, Curves,
and Start, Stop, and Fold
FOLD
FOLD
Barn
1. Cut out the barn.
2. Cut open the doors, stopping at the dots.
Fold the doors open.
3. Glue the barn to a large sheet of construction
paper. Be careful not to glue down the doors.
4. Open the barn doors and put some of the
farm animals inside! (See page 54.)


55
Cut With Clifford
The Big Red Dog
®
© Scholastic Inc.
SKILLS: Curves and Straight Lines
Lunchtime for Clifford
1. Cut out Clifford and his bowl and bone.
2. Put Clifford on a sheet of construction paper.
3. Put Clifford’s bowl in front of him. Put the bone on top of the bowl.
Then glue the pieces in place. Munch your lunch, Clifford!

56
Cut With Clifford
The Big Red Dog
®
© Scholastic Inc.
SKILL: Curves
Party Time With Clifford
1. Cut out Clifford and the balloons.
2. Put Clifford on a sheet of construction paper.
Arrange the balloons above him. Then glue the pictures in place.
3. Use a crayon to draw strings from Clifford’s paw to the balloons! It’s party time!

57
Cut With Clifford
The Big Red Dog
®
© Scholastic Inc.
SKILLS: Curves and Straight Lines
Clifford and Pals Puppets
1. Glue this page to a piece of lightweight cardboard.
Then cut out the puppets.
2. Glue or tape a craft stick to the back of each puppet.
3. Put on a play with Clifford and his pals!

I Can Count and Match to !
Name
Parent
Date
I
C
a
n
C
u
t
!
I
K
n
o
w
S
c
i
s
s
o
r
s
S
a
f
e
t
y
!
© Scholastic Inc.
© Scholastic Inc.
Name
Parent
Date
Great
Job
!
Awesome
!
Way to Go
!
Excellent
!
